
Welcome to my food blog – ‘Delish Specials’. Since this is my first blog post, I decided – what better way to celebrate the official launch of blog than by baking a cake?
I was doing my grocery shopping the other day and managed to buy cheap strawberries at only $2 for 500g. So I decided to bake a Japanese strawberry shortcake for my blog!
The Japanese strawberry shortcake is a very famous Western-style cake available at bakeries all around Japan. The creation of this cake was first influenced by the American strawberry shortcake but was adapted to suit the local palate. Unlike the American shortcake which uses biscuit (scone-like pastry) for its base, the Japanese strawberry shortcake uses an Asian-style sponge cake base. The Japanese strawberry shortcake is a short and light sponge cake that is filled with whipped cream, strawberries and decorated with whipped cream frosting and strawberries.
Although, I am not Japanese and have not travelled to Japan before, I happened to stumble upon write-ups about this cake in several food blogs and decided to try baking this cake a few years ago and I loved it! Since then, I have been wanting to bake this cake again for a long time but was waiting for cheap strawberries to became available. My wish finally came true! So for this post, I’m will be showing you how to make a Japanese strawberry shortcake.
Below is my recipe:
For the Asian Sponge Cake, you will need:
Ingredients:
6 large eggs (at room temperature), separated
3/4 cup sugar
1 1/4 cups flour sifted with 1 teaspoon baking powder
1/2 cup canola oil
1/4 cup water
2 teaspoons vanilla extract
Method:
- Beat the egg whites until they reach soft peaks. Then slowly add ½ cup sugar into the egg whites. Continue to beat the egg whites until are light, frothy and form stiff peaks.

This is what stiff peaks looks like. As you see, the whipped egg whites will not drop back into the bowl when the beater is lifted up.
- In a separate bowl, beat the egg yolks with the remaining sugar until the mixture is pale, fluffy and frothy. Then beat in the canola oil, water and vanilla extract to the egg yolk mixture.

Your beaten egg yolks will look pale, fluffy and frothy like this before you add your vanilla extract.
- Next, fold in your sifted flour and baking powder into your beaten egg yolk mixture.
- After that, gently fold in your beaten egg whites. When you fold in your beaten egg whites, you would want to make sure that you do not stir the mixture as this will deflate the batter. This could cause your sponge to become too dense and not rise properly.

This is how you gently fold in your egg white mixture into your cake batter.
- Line a springform pan with baking paper. Make sure to line the base as well as the sides of the pan. Lining the pan will help your cake to rise properly.
- Pour in your cake batter into the spring form pan. Bake in a pre-heated oven at 180 C for around 50 minutes or until the top of the cake is lightly browned and fully cooked.
- Once the cake is cooked, switch off the oven and leave the cake to cool in the oven with the oven door ajar. This ensures that the cake will not shrink too much.
- After baking the cake, cool the cake in the cake tin and refrigerated at least for an hour to firm up the cake before removing it from the springform pan and decorating it.
For the cake filling and decorations, you will need:
Ingredient:
A small bowl of sliced fresh strawberries
1 cup double cream
1tbsp cornflour
3tbsp caster sugar
1tsp vanilla extract
Method:
- Cut the cake into two layers. Although you can use a serrated knife (bread knife) to cut the cake into layers, I always use this special wire cake slicer and leveller because it gives me a more accurate cake levelling. You can buy this slicer at cake specialty stores or online.

My wire cake slicer and leveller.

You can adjust the height of each cake layer by choosing the suitable notches on the slicer before layering your cake.
- I always flip my cake upside down before cutting it into layers and decorating it.

Slice the cake with the wire cake slicer and leveller.
- Pour your double cream into a mixing bowl. Beat it until it is fairly fluffy. Then, slowly add in the sugar and continue to beat the mixture.
- Once you have reached soft peaks, sprinkle in the cornflour and vanilla extract and continue to beat until you reach stiff peaks. Do not overbeat the mixture as it will turn into butter!
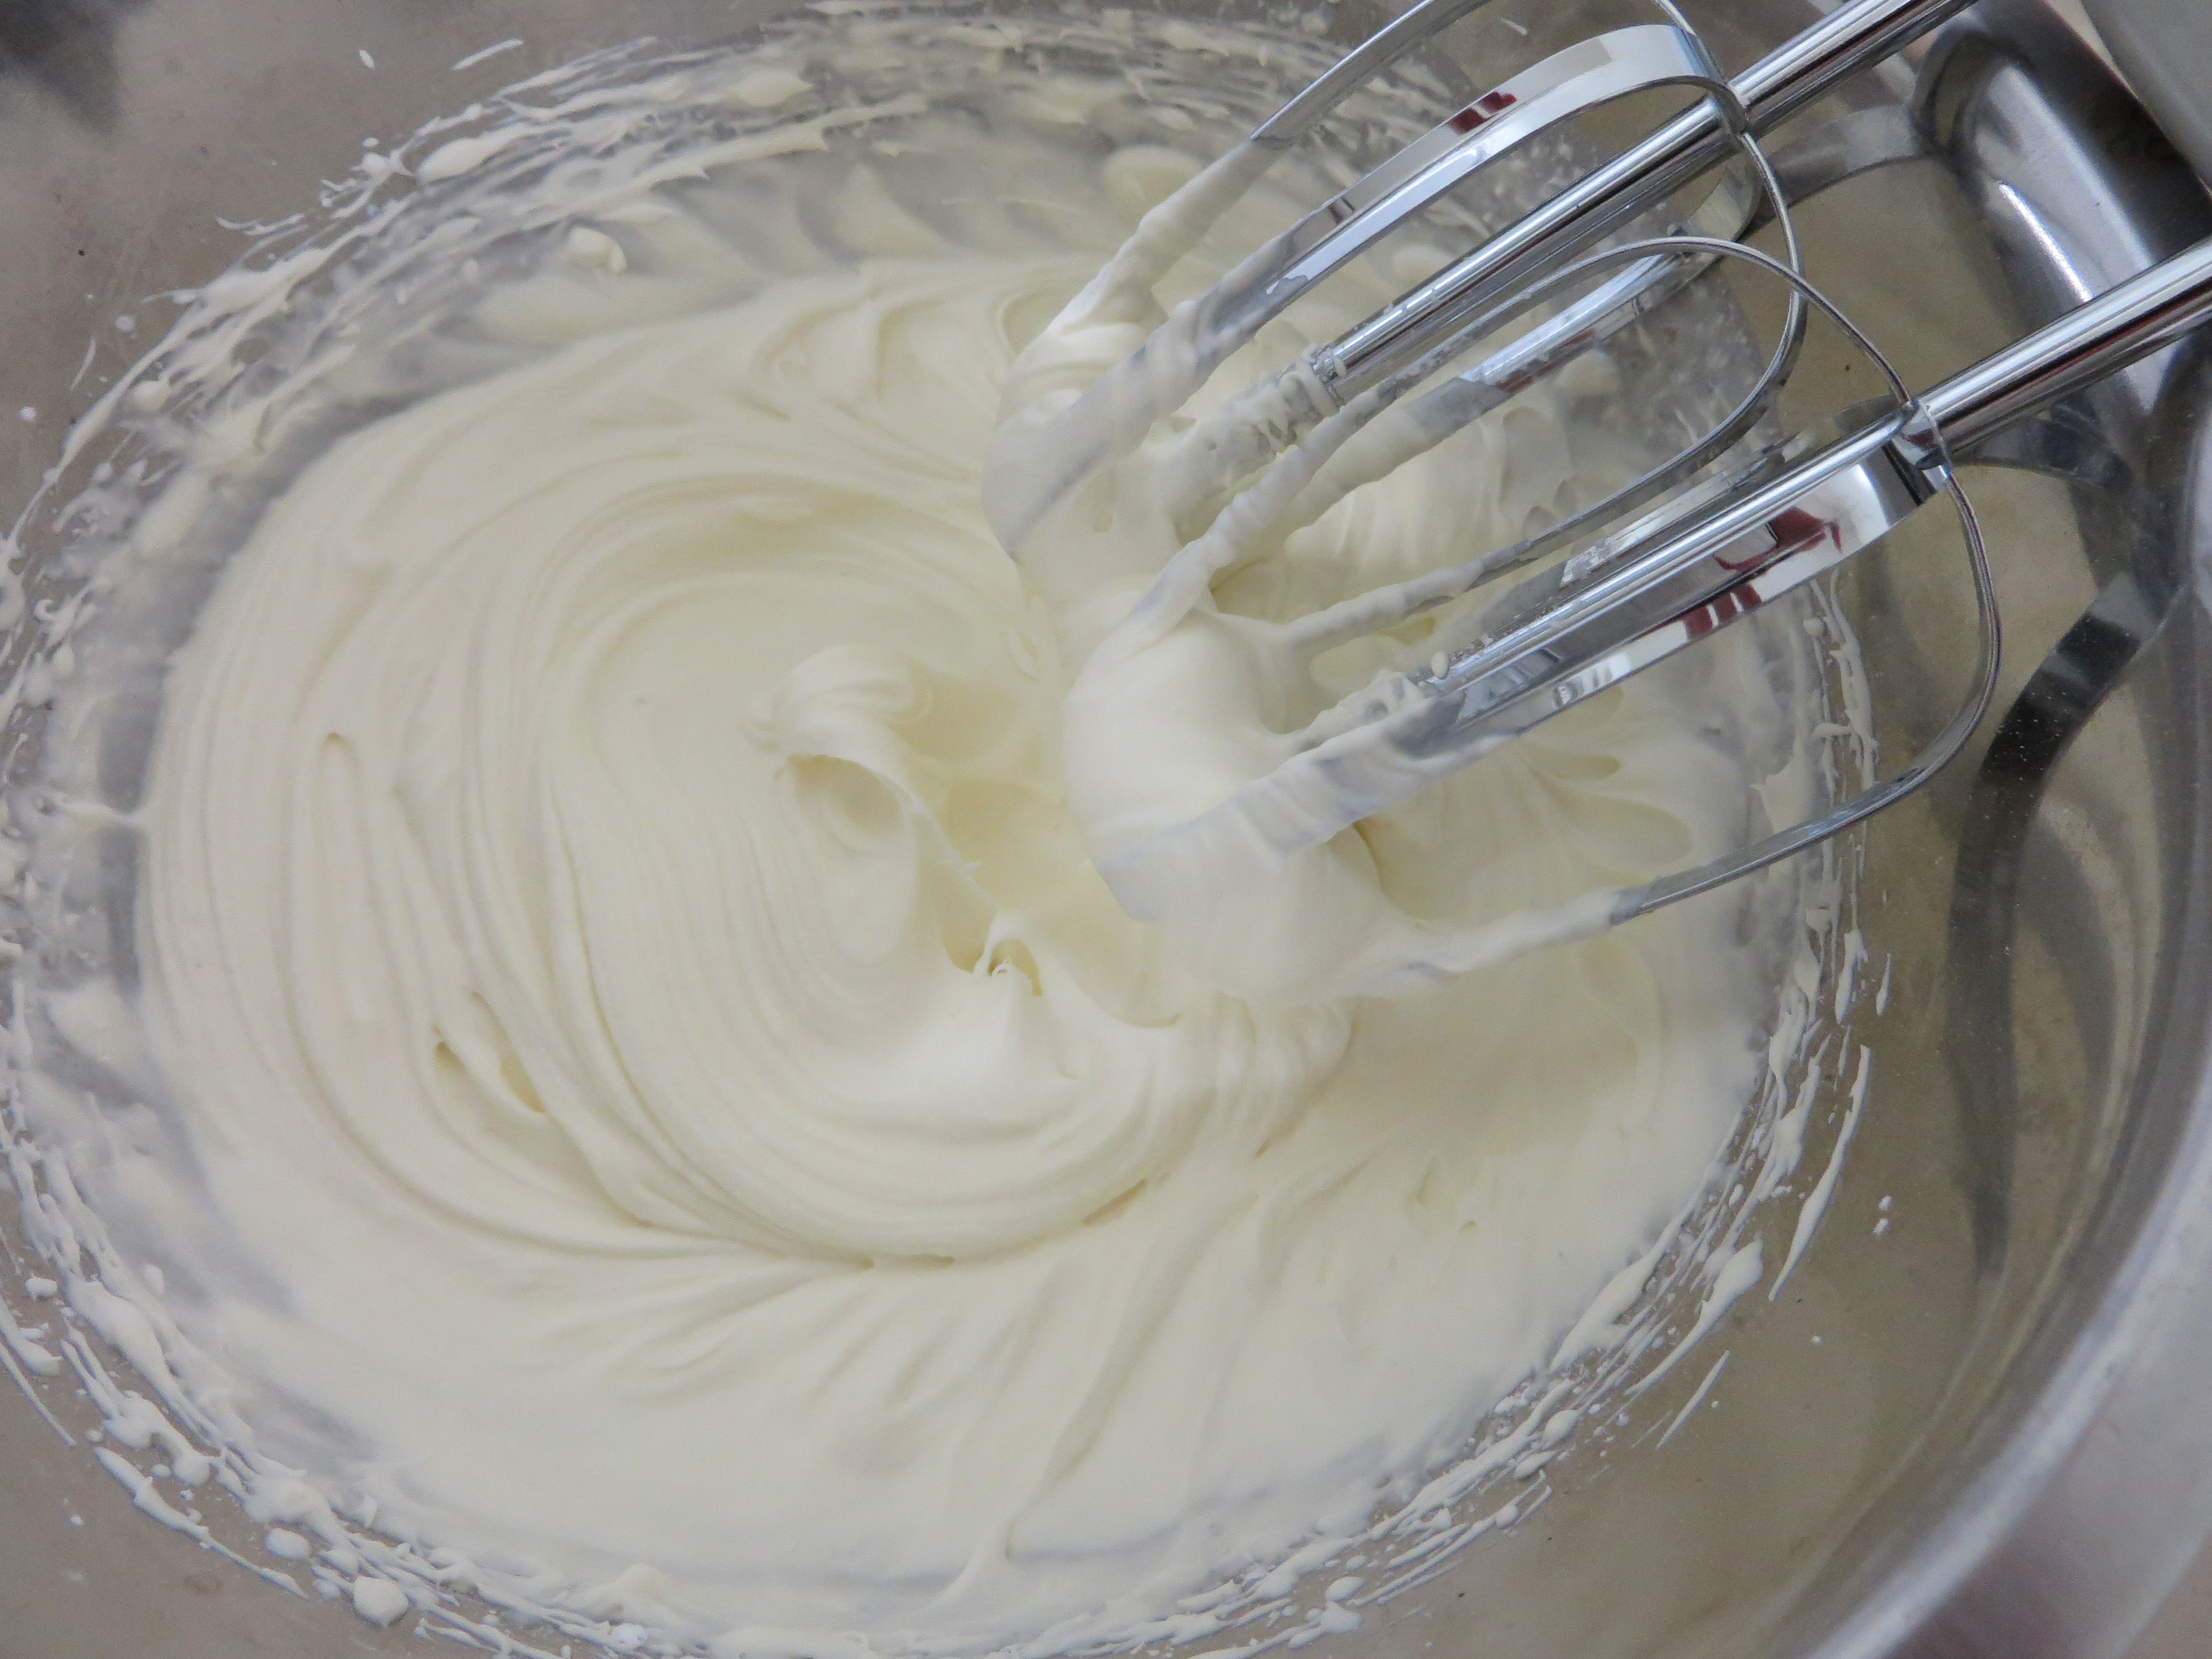
Your whipped cream texture should look something like this when it reaches stiff peaks.

The whipped cream must not drip down when you lift up the cake beater. Instead, it should stay firmly on the beater and hold its shape.
- Place your whipped cream frosting in the refrigerator until you are ready to use it.
- Next, spread the bottom cake layer with the whipped cream frosting you have just made and top it with sliced strawberries.

Make sure you do not fill up the sides of the strawberry shortcake because it will overflow when you sandwich it.
- Sandwich your shortcake filling with the top cake layer.
- Lastly, decorate your strawberry shortcake according to your own creativity with whipped cream frosting and fresh strawberries.

This is what my Japanese strawberry shortcake looked like after decorating it.

Keep cake fresh in a container.
- Keep the strawberry shortcake refrigerated in a cake container to make sure it stays fresh and moist. This cake is best eaten within three days.
- Enjoy with a cup of hot coffee or tea.
Do you have a favourite cake you always bring for celebrations? Are you a sweet tooth or do you prefer savoury dishes? I would love to hear from you.
If you love savoury dishes, join me next week as I will bring you on a journey to discovering one of my favourite childhood hawker dish.
Till then… Happy baking!
Cheers,
Caroline Poh
